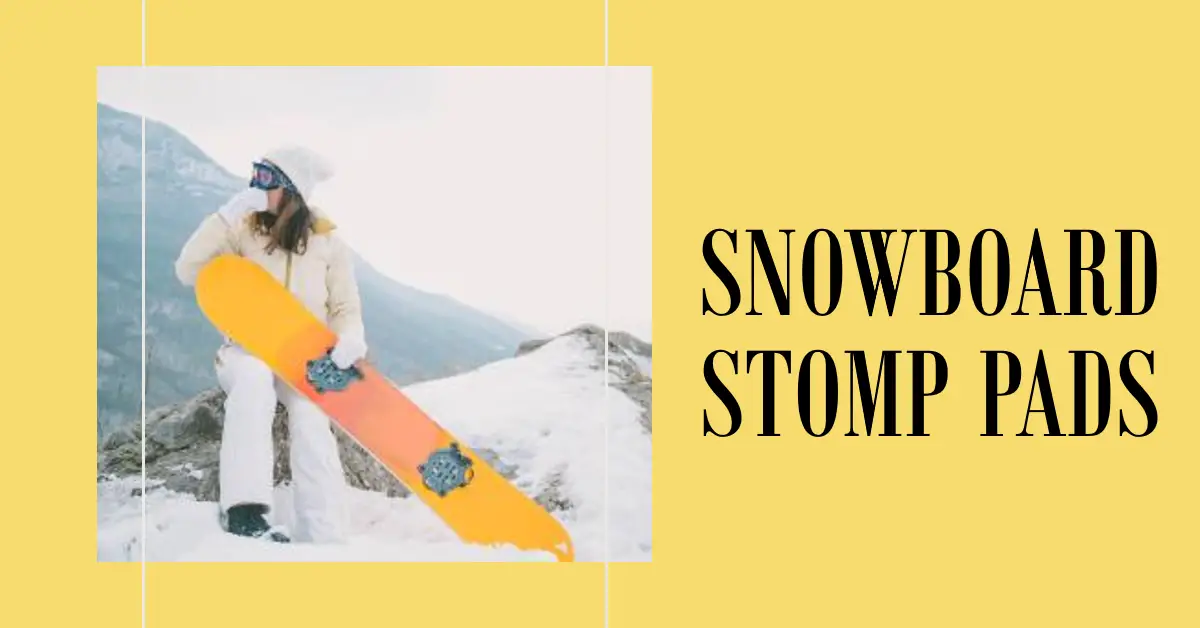
Stomp pads are an essential snowboarding accessory that every rider needs. These grippy pads attach to the top of your snowboard, providing crucial traction and control.
In this comprehensive guide, we’ll cover everything you need to know about snowboard stomp pads, including:
- What stomp pads are and why they’re important
- Stomp pad materials and design types
- Key factors to consider when choosing a stomp pad
- How to properly install and place your stomp pad
- Using correct stance and techniques with a stomp pad
- Stomp pad maintenance tips
- DIY homemade stomp pad options
- Answers to frequently asked questions
Whether you’re a new rider getting your first stomp pad or a seasoned veteran, this guide will help you pick the perfect traction pad and use it correctly. Let’s get into it!
Table of Contents
What Are Snowboard Stomp Pads and Why Are They Important?
A snowboard stomp pad (also called a traction pad) is a grippy, textured pad that sticks to the top of your snowboard over the rear binding area. Stomp pads provide essential traction and control while riding.
Here are some of the key benefits stomp pads offer:
- Traction for maneuvers – The grippy surface gives your rear boot traction for ollies, jumps, jibs, and maneuvering.
- Control on lifts – Stomps pads allow solid footing on chairlifts when dangling with one foot strapped in.
- Confidence launching – New riders feel more secure pointing downhill while waiting to push off.
- Prevent leg burnout – Without a stomp pad, constantly tip-toeing strains your rear leg.
- Protect top sheet – Dimpled pads prevent damage from boot scratches.
For these reasons, a proper stomp pad is considered mandatory gear for park, freestyle, and all-mountain riding. Let’s look next at the different materials and designs.
Stomp Pad Materials and Types
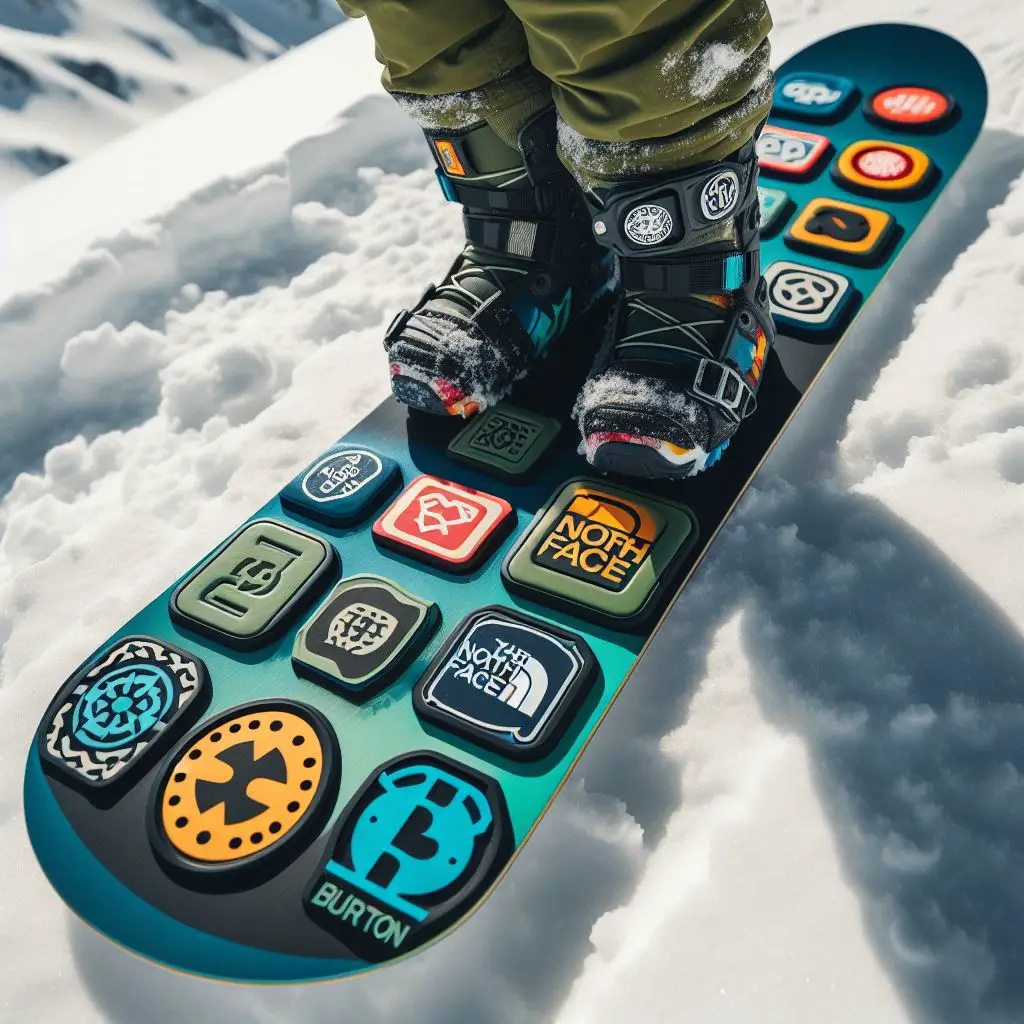
Stomp pads come in a range of materials, shapes, and designs:
Materials
- Rubber – The most common material, provides great shock absorption. Usually rippled or dimpled.
- Plastic – More rigid but very durable. Often spikes or ridges for traction.
- Aluminum – Lightweight metal with drilled holes or mesh patterns.
- Carbon fiber – Premium material that’s stiff, durable, and lightweight.
Shapes
- Circular – Classic circular shape, available in most sizes.
- Rectangular – Angular edges provide more surface coverage.
- Triangular – A less common three-sided shape.
Designs
- Solid color – Single, solid colors like black are widely available.
- Multicolor – Some pads offer color combinations or gradients.
- Graphics – Printed graphics provide stylish designs.
- Cutouts – Plastic cutouts can form texts or shapes.
Consider the pluses and minuses of each material and design when choosing your ideal stomp pad. Next we’ll cover the key factors to weigh.
Key Factors When Choosing a Snowboard Stomp Pad
With so many options available, think about these key factors to select the best stomp pad for your riding:
- Snowboard profile – Match the curvature of your board; radial or spherical concave shapes.
- Binding placement – Measure space between bindings for right size pad.
- Boot size – Pick a pad wide and deep enough for your boot print.
- Riding style – Freestyle may need more grip than all-mountain.
- Durability needs – Frequent jibbers should prioritize ruggedness.
- Traction preferences – Newcomers often want extra grip.
- Price range – Budget $10-30 for quality pads, or more for premium materials.
- Aesthetics – Match colors to your board graphics or your style.
Taking these factors into account will ensure you buy the ideal stomp pad tailored specifically for you. Next we’ll cover proper installation.
How to Install Your Snowboard Stomp Pad
Once you’ve purchased a stomp pad, attaching it correctly ensures maximum performance. Follow these steps:
Prep
- Clean board surface thoroughly where pad will attach. Remove any old residue.
- Determine exact pad placement. Centered is common, or aligned to rear binding edges.
- Remove adhesive cover layer from pad if applicable. Some need glue applied.
Attach
- Press pad down firmly starting from one edge, smoothing outward.
- Apply even pressure across entire pad surface to maximize adhesion.
- If using glue, apply an even thin layer and wait 5-10 minutes before attaching.
- Rub pad edges to seal tightly and remove any air bubbles.
Finish
- Confirm pad lies flat and will make full boot contact.
- Let glue cure fully before riding, usually 24-48 hours.
- Cut pad precisely if needed for ideal fit around bindings or edges.
Taking the time to properly install your stomp pad ensures it stays put. Next, let’s go over ideal stance and riding techniques.
Proper Stomp Pad Stance and Riding Technique
Once installed, using proper form and technique with your stomp pad gives the best control:
- Keep knees bent and centered over the stomp pad while traversing or waiting.
- Shift weight directly over pad when ollieing and jumping.
- Drive rear boot toe down into pad when carving heelside.
- Use a loose, athletic stance to allow flexing over pad.
- Angle rear foot slightly outward for best traction on uneven terrain.
- Bend ankles as needed to keep boot flat on pad, avoiding toes or heels.
- Glide gently off lifts, then stomp pad to stabilize on exit.
Getting comfortable riding, flexing, and balancing over your stomp pad will build key skills. Next up – keeping your pad in peak condition.
Caring for Your Stomp Pad
Like any gear, some simple maintenance will keep your stomp pad working like new:
- Check adhesive frequently and reapply glue if pad loosens.
- Use a stiff brush and soapy water to remove packed snow and ice.
- Let air dry fully before reattaching pad after cleaning.
- Replace immediately if pad gets ripped or traction declines excessively.
- Consider removing pad in spring to clean board fully before storage.
- Reapply each season with fresh glue or adhesive for best hold.
With proper care, a quality stomp pad should deliver traction for multiple seasons before needing replacement. Next we’ll look at DIY options.
DIY Homemade Stomp Pad Options
While store-bought is ideal, you can create a homemade DIY stomp pad in a pinch:
- Mesh/tape – Use friction tape or mesh tape layered for grip.
- Yoga mat – Cut a square from a thick yoga or exercise mat.
- Inner tube – Slice rubber pieces from an old bike inner tube.
- Carpet/rug – Cut a piece of short-nap carpet or thin rug.
- Sandpaper – Glue sheets of coarse grit sandpaper.
- Hot glue – Apply globs of hot glue in a textured pattern.
These DIY solutions work fine temporarily but lack durability of purpose-made stomp pads. Only use homemades as an absolute last resort!
We’ve covered a ton of stomp pad info. Now let’s answer some common questions.
Frequently Asked Stomp Pad Questions
Here are answers to some of the most popular stomp pad questions:
Where should you place your stomp pad?
Most riders center it between bindings or align the front edge with the rear binding’s toe edge.
How do you clean grime off a stomp pad?
Use a stiff brush and warm, soapy water to scrub. Rinse and air dry fully before reattaching.
When should you replace a stomp pad?
When adhesive fails or traction declines excessively. Pads normally last a few seasons with care.
Can you ride without a stomp pad?
Not recommended. Riding without one is very difficult and can damage your top sheet.
How much do quality stomp pads cost?
Basic rubber pads cost $10-30. Pricier materials like carbon fiber run $40-60+.
Key Takeaways on Snowboard Stomp Pads
A few key points to remember on stomp pads:
- Provide essential traction for maneuvers, lift riding, and pushing
- Choose based on board fit, riding style, traction needs, and budget
- Install properly with maximum adhesive contact
- Use athletic stance centered over pad
- Keep clean and replace worn pads promptly
Using this comprehensive guide, you can find and utilize the ideal stomp pad for your snowboarding!
Conclusion
From understanding materials and designs to proper installation and riding techniques, this complete guide covers everything snowboarders need to know about crucial stomp pads.
Follow the tips within to choose the perfect traction pad tailored to your board, boots, riding terrain, and budget. Take time to properly attach your new stomp pad. Then get out on the mountain and shred with confidence!
With your new stomp pad dialed, you’ll gain stability, control, and peace of mind knowing your rear boot won’t slip off again. That grip gives you the confidence to land new tricks and progress your riding like never before. So get stomping!