Beginner’s Guide to Snowboarding: Your First Day on the Mountain
Find your stance, book a lesson, rent smart and follow a step-by-step first-day progression, with advice on falling safely and lift etiquette.
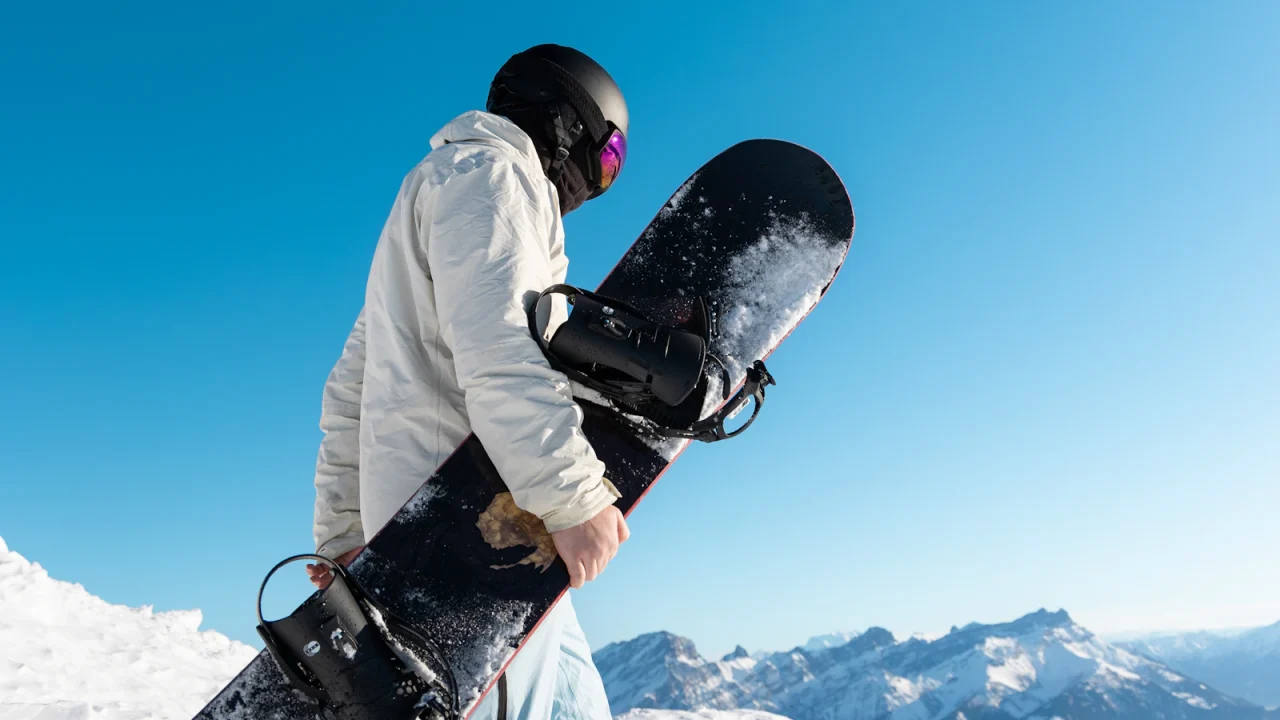
Learning to snowboard takes patience, and a little preparation makes the first day far more enjoyable. A handful of early choices, such as which foot leads, whether you book a lesson and what you rent, shape how the day goes before you ever reach the lift.
This guide walks through those choices in order: finding your stance, getting set up, a sensible first-day progression, how to fall without hurting yourself, and the lift and slope etiquette every rider is expected to know. Think of it as the groundwork. An on-snow lesson with a qualified instructor is what turns it into skill.
Regular or goofy: which foot goes forward?
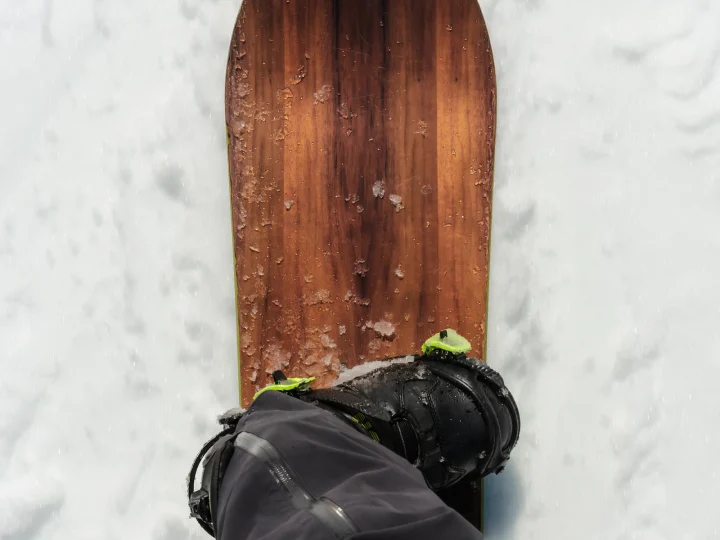
Your lead foot is the one pointing down the hill. Riders with the left foot forward are called regular; riders with the right foot forward are called goofy. Burton’s stance guide stresses that regular does not mean correct and goofy does not mean incorrect, and that no rule requires either one.
Three simple tests can give you a starting point:
- Slide test: Run in thick socks across a smooth floor and slide. The foot that leads the slide is likely your front foot.
- Push test: Stand with your heels together and have a friend give you a gentle shove from behind. The foot that steps out to catch you is likely your front foot.
- Stair test: Climb a staircase. The foot that starts the climb and lands on the first step is likely your back foot.
Treat the result as a guess rather than a verdict. If the first setup feels awkward on snow, tell your instructor or the rental technician; stance can be changed.
Book a lesson, even if a friend offers to teach you
Burton’s beginner advice is to learn from a professional instructor rather than a friend, ideally the same instructor throughout, and to meet your riding buddies for lunch instead. It also notes that group lessons are usually cheaper than private ones and a good way to meet other beginners. Lesson formats, lengths and prices vary by resort, so check the resort’s ski and ride school before you book.
You can also prepare at home. PSIA-AASI and SNOW Operating publish a beginner’s guide video series that includes snowboarding, covering practical preparation such as what to wear, carrying your equipment and putting on your boots, plus basic movements like stopping, turning and riding a chairlift. The instructors who made it are clear that it does not replace an on-snow lesson, but it helps you arrive knowing what to expect.
Gear for day one
Rent before you buy
Burton points out that beginner rental boards flex more easily and ride more forgivingly, which helps you build skills without a big spend. Rental staff can also help with sizing and stance. When you are ready to buy, our guides to choosing your first snowboard and the snowboard size guide explain what to look for, and the rent or bring your own article covers the trade-offs.
Not sure where to start? The quiz below narrows down the kit that fits your plans.
What to wear
Dress in layers you can add or remove, choose waterproof outerwear, and avoid cotton and jeans, which hold moisture and leave you cold. Our what to wear snowboarding guide covers each layer in detail.
Helmet and optional protection
Wear a properly fitted helmet. Burton also lists impact shorts, wrist guards and knee pads as optional protection for beginners. A systematic review of snowboard wrist guards (Kim and Lee, 2011) found that wrist injuries are among the most common in snowboarding and that guards may help prevent them, although the authors found no agreement on which design works best.
See Available Options (opens Amazon search for snowboard wrist guards adult in a new tab)
See Available Options (opens Amazon search for padded impact shorts for snowboarding in a new tab)
A sensible first-day progression
Before you start, do some easy stretches, eat a proper breakfast and drink water through the day, even if you do not feel thirsty. Then work through the skills in this order, which follows Burton’s published learning progression. If your instructor teaches a different sequence, follow your instructor.
- Glide on flat ground. Strap your front foot into the front binding and leave the back foot free. Bend your knees, look over your front shoulder and hold your arms slightly out for balance while a partner or instructor gently pushes the tail.
- Skate. Push off with your free foot like a skateboarder, then rest that foot on the board between the bindings and glide. To stop, drag your back heel in the snow like a brake.
- Try flat J-turns. Skate to a comfortable speed, glide, then shift your weight toward your heels or toes and look toward that edge to begin a gentle turn.
- Slide on your edges. On a small slope with a flat runout, practice heel-side and toe-side slides, using a partner for support at first. The goal is a controlled slide on both edges without help.
- Try the falling leaf. With both feet strapped in, glide sideways on your heel edge by shifting weight from one foot to the other, so your path zigzags like a falling leaf. Burton lists it as a key drill for controlling speed.
- Link your first turns. At the bottom of a gentle slope with a clear runout, let the board point down the hill, then engage an edge to turn across the slope and slow down. Sit or kneel to reset between turns, and link them later.
Stay on wide beginner (bunny or learning) runs you can see from the bottom, and avoid narrow green trails reached from the top of the mountain. Burton also advises against rushing onto steeper terrain, and suggests riding at least 15 times per winter for faster progress.
How to fall safely
Falling is part of learning, and how you fall matters. Burton’s guidance:
- If you feel off balance, get low and sit or roll onto your butt or knees.
- Do not brace with your hands. Keep your arms at your sides, or if you are falling forward, roll from your knees onto your forearms.
- Whenever you stop on the slope, sit down. Sitting on purpose does not count as a fall.
- Look around before rolling over to stand up so you do not hit another rider.
Choose where you stop with care. The National Ski Areas Association (NSAA) Responsibility Code asks riders to stop only where they can be seen from above and where they do not block traffic, so avoid sitting just below a roll in the terrain or in the middle of a narrow run.
Lifts, tow ropes and slope etiquette
Gliding and skating are the skills you use to load and unload lifts, which is one reason to master them on flat ground first. Some beginner areas offer easy uphill options such as tow ropes or J-bars; Burton suggests looking for them before you go and expecting a bit of uphill walking while you learn to use a tow rope.
The NSAA’s Responsibility Code (2022 version) sets out the basics for everyone on the slopes. In short:
- Know how to load, ride and unload lifts safely, and ask the lift attendant for help if you need it.
- Stay in control and be able to stop or avoid people and objects.
- People ahead of or downhill from you have the right of way, so look uphill before you start or join a trail.
- Stop only where others can see you, and read and follow signs and closures.
- Prevent your equipment from running away.
Our snowboard safety tips article covers the full code and the international FIS rules.
Common beginner mistakes, and easy fixes
- Buying gear too early. Rent until you know what you like.
- Wearing cotton or jeans. Both hold moisture and make you cold.
- Choosing the wrong socks. evo’s clothing guide calls poor sock choice one of the most common beginner mistakes; thin, wicking wool or synthetic socks that fit snugly are the usual advice.
- Learning from a friend instead of an instructor. Burton’s advice is to take lessons from a professional.
- Bracing falls with your hands. Roll onto your butt, knees or forearms instead.
- Doing too much on day one. Burton lists overexertion as a common mistake. Expect to get tired and listen to your body.
- Arriving late at the rental shop. Morning rental lines can be long; renting near home the night before can skip them.
Planning your first trip
If you are choosing where to learn, start with our list of the best snowboarding destinations for beginners. Look for a resort with a dedicated learning area, a ski and ride school, and rental shops on site.
Frequently asked questions
How do I know if I am regular or goofy?
Try the slide, push and stair tests described above, then confirm on snow. If the tests disagree or the first stance feels wrong, ask your instructor to let you try the other way round.
Do I need my own gear for my first day?
No. Renting is the usual recommendation because beginner rental boards are forgiving and staff can help with sizing and stance. Borrowing outerwear or protective gear from family is also fine, as long as you stay warm, dry and safe.
Is it all right to learn from a friend?
Burton recommends a professional instructor instead. Friends can still be great riding partners once you are comfortable on beginner terrain.
How do I know when I am ready for the chairlift?
You should be comfortable gliding, skating and stopping on flat ground and sliding in control on both edges, because those skills are used to load and unload. Your instructor will usually tell you when you are ready; if you are unsure, ask the lift attendant for help.
Sources and further reading
- Goofy vs. Regular: The Official Guide to Snowboard Stances — Burton
- Learn to Snowboard: Quick and Easy Tips for Beginners — Burton
- Getting Started: Snowboarding for Beginners — Burton
- Your Responsibility Code (2022) — National Ski Areas Association
- Beginner’s Guide video series — PSIA-AASI (The Snow Pros)
- Snowboard wrist guards: use, efficacy, and design. A systematic review — Kim and Lee, Bulletin of the NYU Hospital for Joint Diseases (2011)
- What to Wear and How to Dress for Skiing and Snowboarding — evo